Share
Pin
Tweet
Send
Share
Send
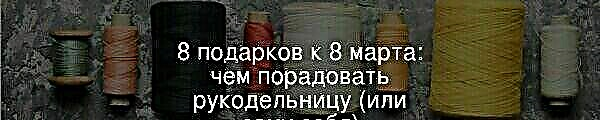
Each needlewoman dreams of her own workshop or at least a small working corner, where you can place all the sewing accessories, retire from prying eyes and create a couple with the muse.
This place should not only be well equipped and thought out to the smallest detail, but also create a certain mood. From our workshop you will learn how to create an unusual decor for a sewing workshop.You will need:

- three photo frames 47x37 cm
- colored paper
- dress patterns
- patches of plain fabrics of different colors and fabrics with riusnkom
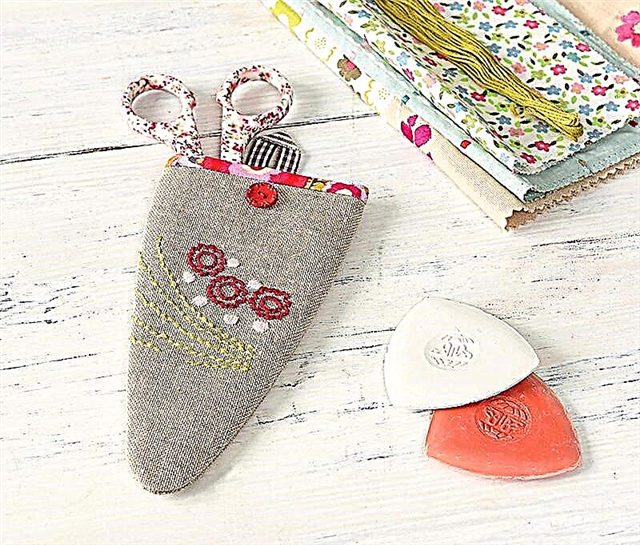
- beads, fabric flowers, decorative ribbons for decor
- thread, needle, brush and scissors
- PVA glue
- cardboard
What you need to start sewing, read on BurdaStyle.ru
Step 1


Cut out the details of the paper pattern of the dress and transfer it to the fabric of your choice.
As a dress pattern, you can also use models of clothes for dolls, which, if necessary, reduce.
- Special offer

- 1
- 2
- 3
- 4
Step 2

Sew details of the dress.
Step 3

Decorate each dress with decorative elements - it can be flowers, beads, ribbons, and even yarn.
Step 4
For each frame, select a background. Best suited from plain colored paper (but not too dark), on which your product will be clearly visible.Instead of a regular sheet of plain colored paper for the background, you can use a finished picture or illustration with a certain character.
Step 5
Cut the base from cardboard to the size of the frame, glue the background onto the cardboard, smoothing it along the cardboard well so that there are no air bubbles between the cardboard and the paper. Allow to dry for an hour. Then insert cardboard with paper into the frame.We decorate the frame with the help of a fabric: a master class
Step 6


Brush the back of the dress with glue and a little glue in the center of the background, and glue the dress in the center of the picture.


Done! It remains to hang pictures in the area of your sewing workshop.

Olga Bukia
Olga has been engaged in needlework for more than 10 years. Burda magazine helped her to take the first step to creativity, which to this day is her source of inspiration. It was according to Burda that she learned to knit and embroider. In all her projects, Olga pays great attention to detail.
Today Olga sews, embroiders, creates her own accessories and bags. Her work can be found on the pages on Instagram and the blog.
Photo and author of the workshop Olga Bukia
Material prepared by Julia Dekanova
Share
Pin
Tweet
Send
Share
Send